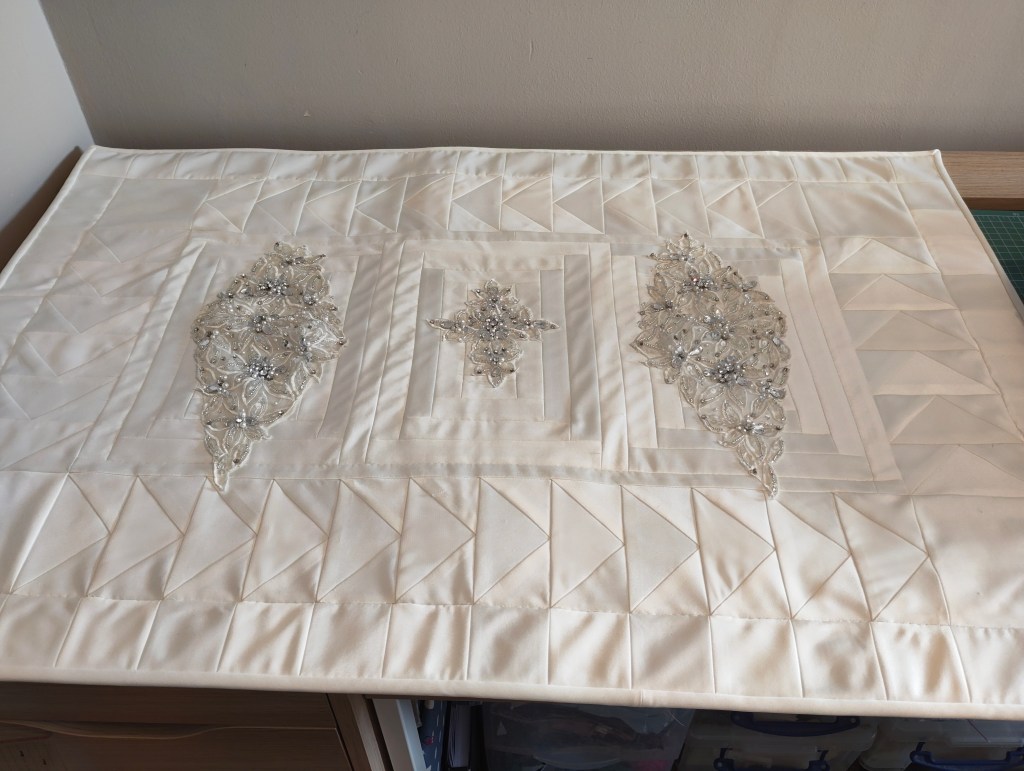
Really pleased with the result. If you are interested please contact me
Really pleased with the result. If you are interested please contact me
So far my blog has mainly been showing the end product of my creations. Moving forward I have decided to post my progress with the different projects I’m doing which will enable me to teach some quilting tips as I go. I have obtained consent to show the progress from the people who I am making quilts for. My aim is to teach little details which make your finished project look great.
Alongside my quilts I am also making bags These 2 bags are made from my husbands old shirts and Jeans. The smaller one is made to transport my music. I spend a lot of my time playing cello and so this involves orchestras and smaller ensembles. This bag is ideal to transport my music around safely along with my various other items cello players need.

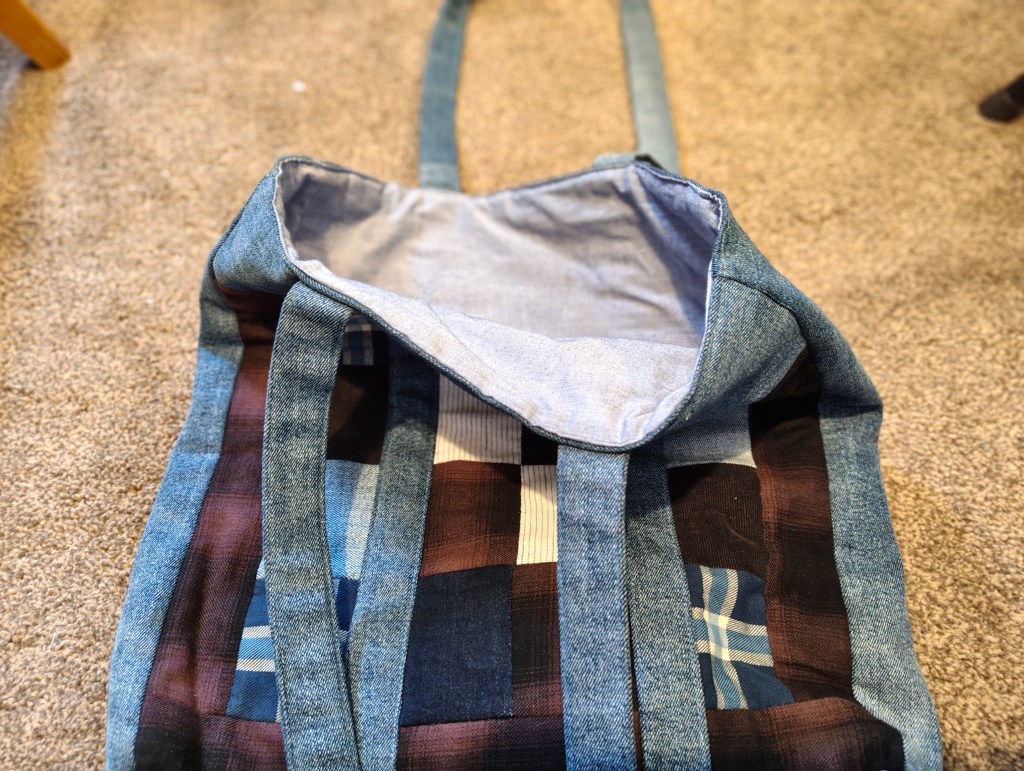

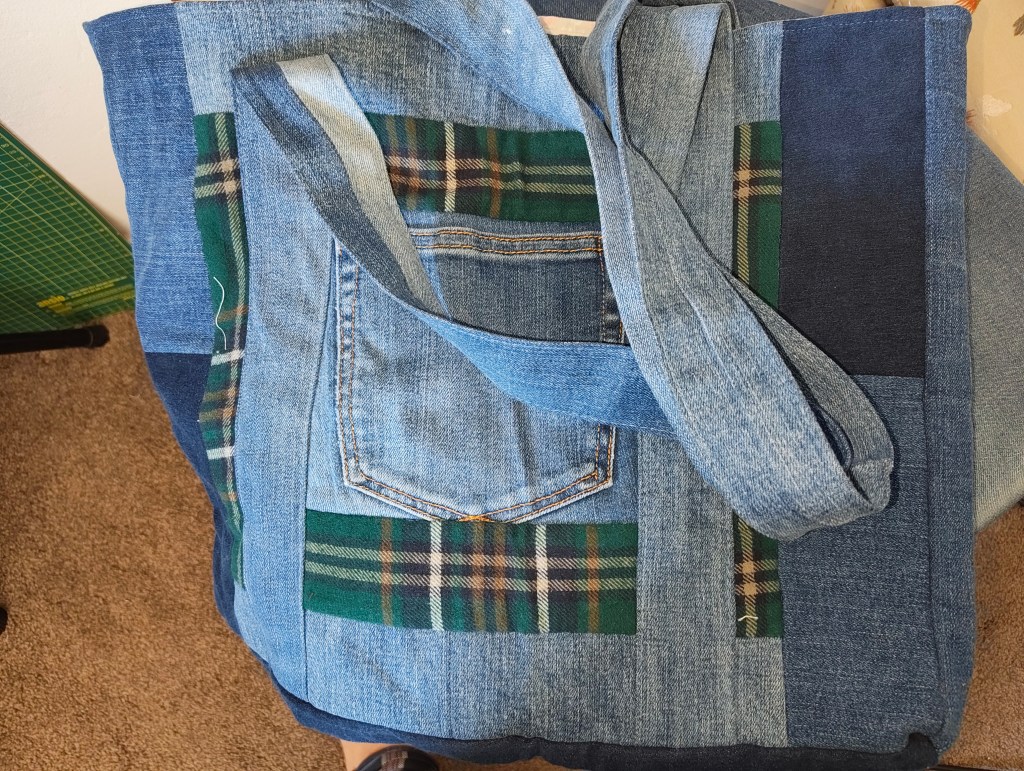
The bags are fully lined and the front is quilted, which makes the bad very stable.
If you would like a bag made out of your loved ones clothes just send me a message and I can see what I can do for you.
Following on from my previous post, the next stage of the quilt is to make the centre rectangles for the lace to be sewn on. This is a form of log cabin. To make, you start in the middle and then add on the borders. Its very important to cut the stripes to the exact length required before sewing to ensure a perfect rectangle results.
The three rectangles are then sewn together

The shoulder lace will now go on the outside rectangle and the front piece of lace will go in the middle. The next stage is making the flying gueeze border.
Helpfull hints in making a border of flying gueeze will be in my next blog.
A large amount of people get married every year, and then what do you do with your wedding dress? I converted mine into cushions which I also gave to my mum and my sister. Sabrina contacted me and asked if I could convert her wedding dress into a small quilt. I love a challenge so I immediately agreed.
Here is Sabrina’s beautiful wedding dress…

My immediate thoughts were to think how to include the different types of fabric and how can I use the lace shoulder straps and front detail. The size Sabrina asked me for was 60cm by 90cm. The design I decided on was three rectangles in the centre and then a border of flying gueeze and then a border of squares. As the fabric is plain I wanted to include quite detailed patchwork.
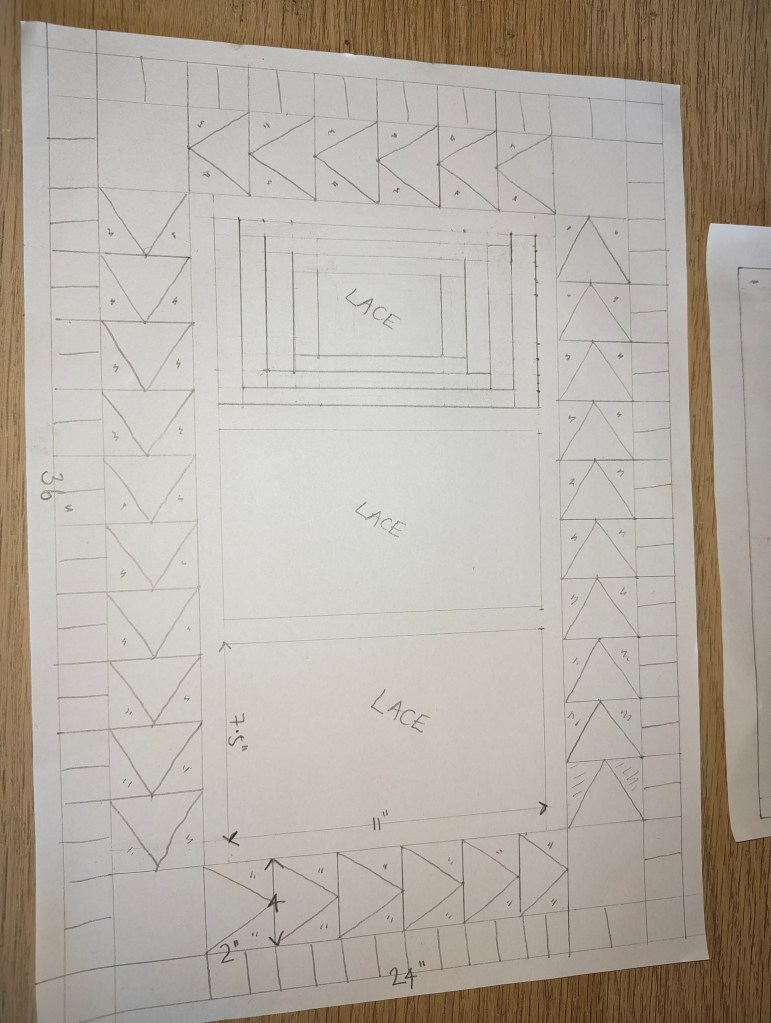
Please follow the blog to see how the project progresses.
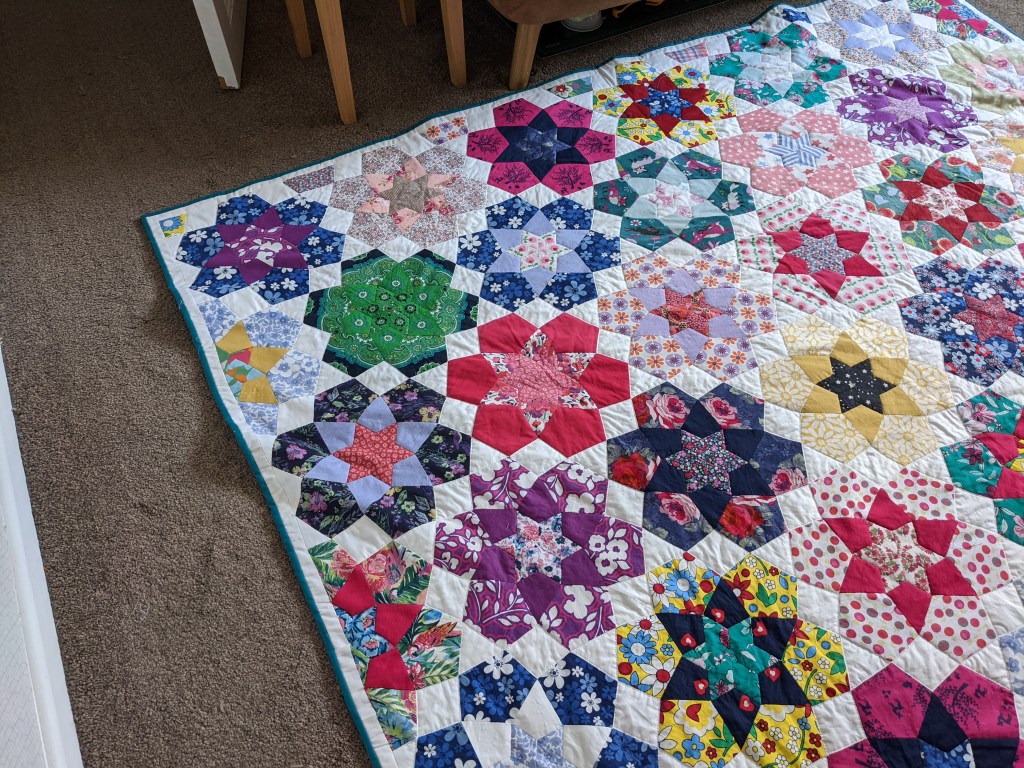
This is the original one and I am now recreating it for someone for a super king bed. Very pleased to be doing this as it is one of my favourite quilts to make. Each shape of material is cut out, lined with a light weight interfacing and then the seams are folded, pressed and secured. Then after many hours the quilt is ready for construction. The individual shapes are then sewn together by hand to complete the top of the quilt. The next stage is to lay out the quilt and put all the layers together (Backing, wadding and top). The quilt is then quilted, binding added and its ready (Many months later)
I am very lucky I have a job I absolutely love. I can spend hours creating them and enjoy every moment. Please feel free to ask me any questions you have on quilting.


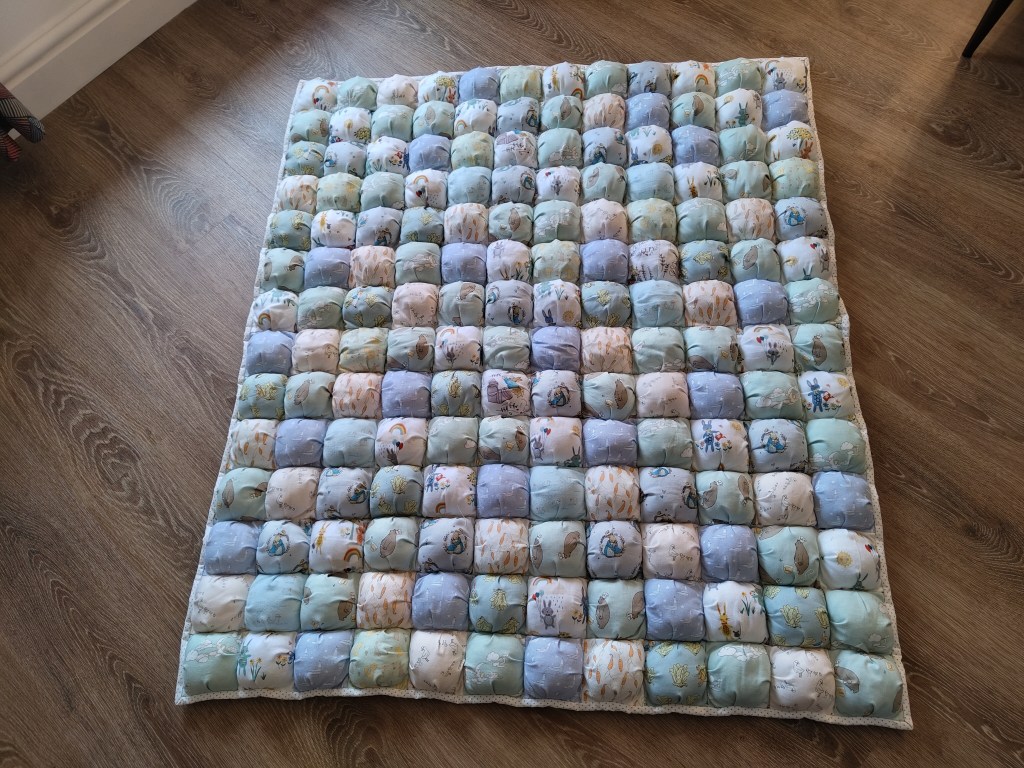
These have all been added to Etsy today and I have a sale of 20% in my Etsy shop starting tomorrow. The top photo is a wall hanging that would typically appeal to sewing lovers. The second one is a child’s alphabet quilt and the third one is a puffed baby blanket which is really soft and lovely

I had put these old jeans to aside a while ago and wondered what to do with them. Having cut them up I decided a bag with multiple pockets would be perfect. I have used the jeans pocket to create an extra pocket.

Being denim its very sturdy and I have lined it with white cotton. If you have any old jeans lying around why not send them to me and I can convert them into a bag at a minimal price
I managed to finish my cushion yesterday. The material was difficult to handle so a lot of care was taken. Here is the finished cushion.This one is for my mum

Very pleased with the result. If you would like me to convert your wedding dress into something memorable give me a shout.
I got married 13 years ago and my wedding dress has sat in the wardrobe. I thought I would put it on Ebay but there were thousands on there and then I thought of taking it to a charity shop. I suddenly realised I could make something memorable out of my dress. I decided to cut it up and make it into cushions for myself, my mum and my bridesmaids.

To begin with I had to decide how to cut it. The dress was made up of 4 different layers of fabric. I ended up with quite a large quantity of each layer
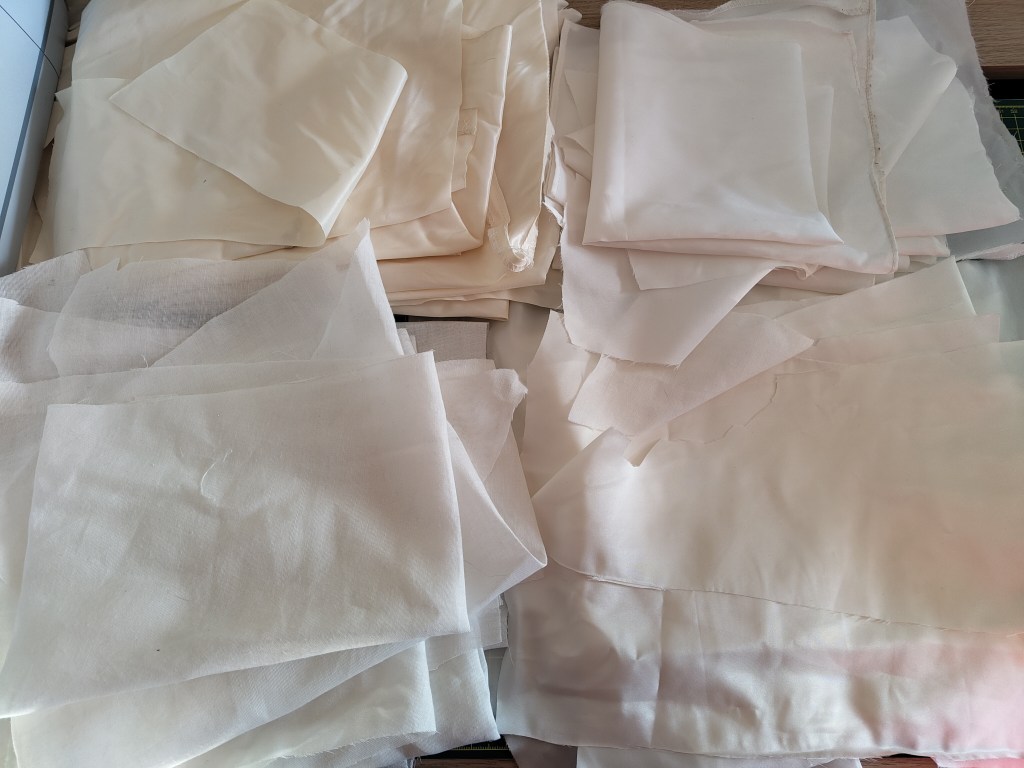
I have made a folded star before and decided this would be ideal for this. The next stage was making the rectangles to make the cushion. I needed 8 sets of 8 pieces of fabric.

These are then sewn onto a piece of fabric and then the fabric is folded together to make a beautiful star.

Today I will make it into a cushion so have a look at the finished product later
Tales of a Stitcher
Let Your Goodness Shine
I'm Auntie M, the Snowdog Quilter. This is my quilting journey. Why don't you come along for the ride?
kinda suits you anyway
Ellen Grace Olinger
confessions and inner musings of a fabriholic
Handmade quilts specialising in bespoke memory & sentimental quilts

